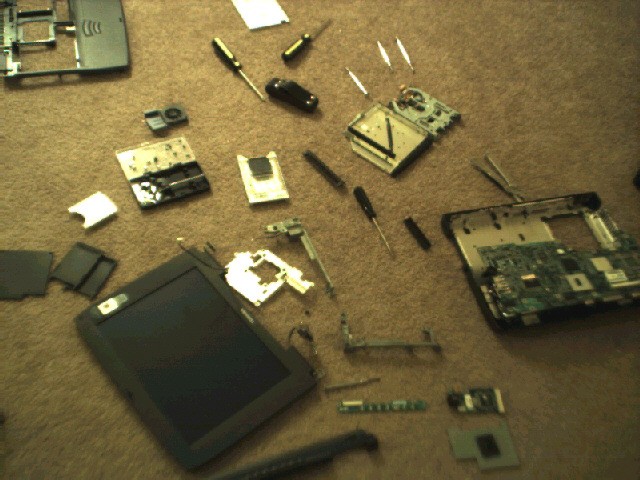
1) External case
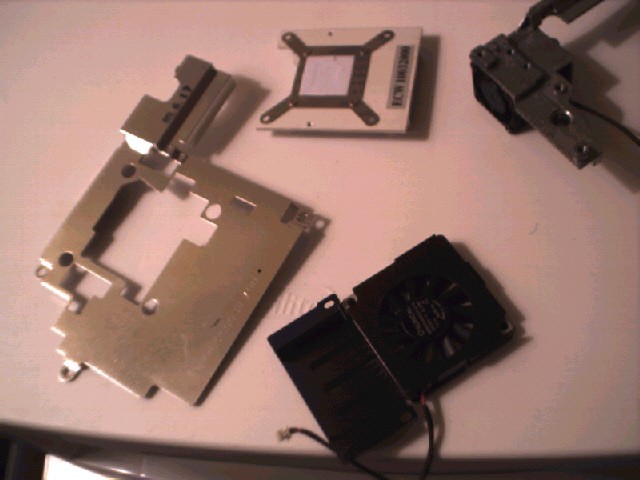
2) CPU fan and chassis
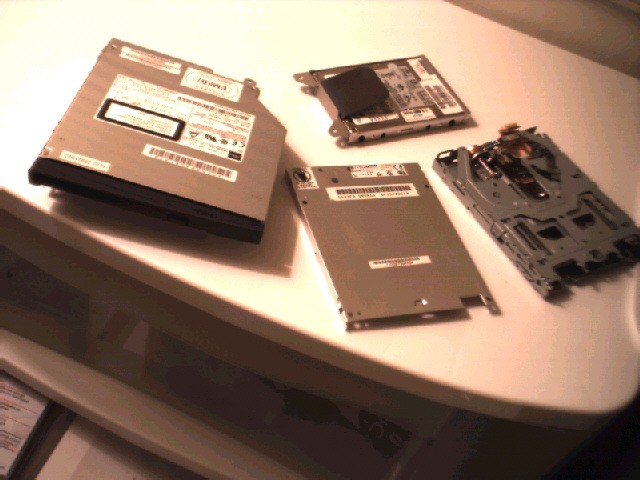
3) Drive assembly
4) Floppy drive
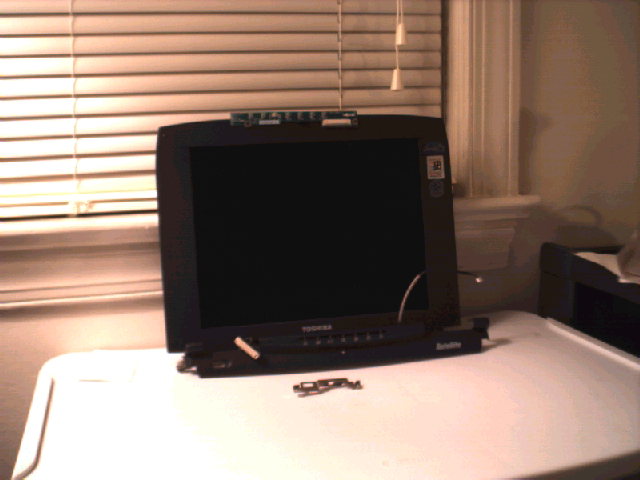
5) Monitor
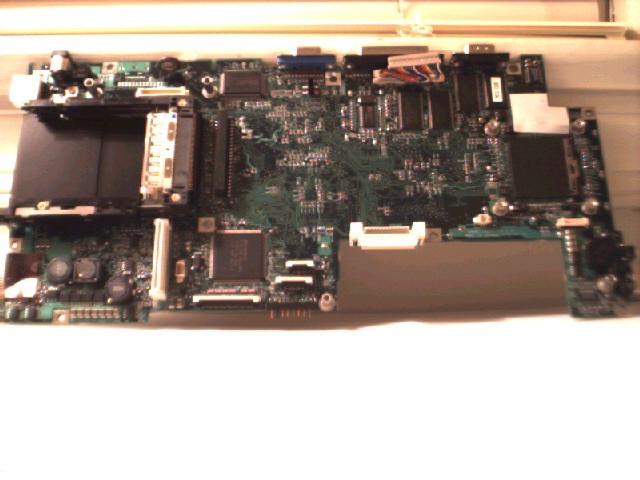
6) Motherboard and bottom case
7) Led indicator board (LED: Light emmiting diode, a kind of light)
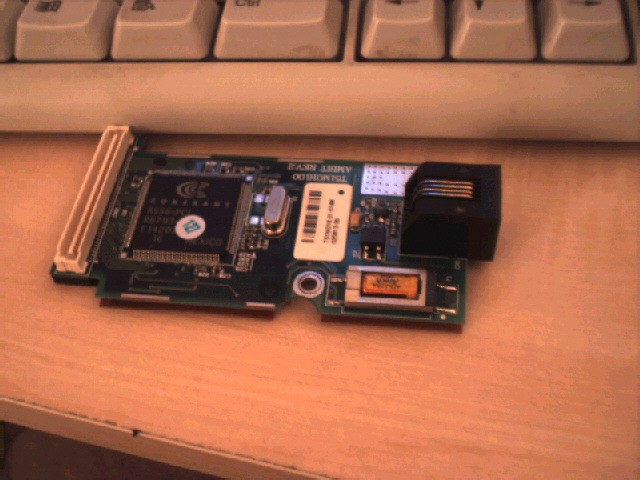
8) Modem
9) LED housing
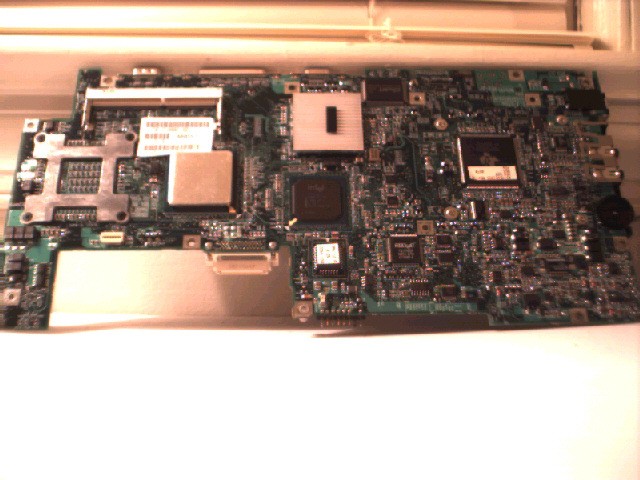
10) EMI Shielding for GPU (GPU: Graphics Processing Unit, AKA video card; EMI: Electro-Magnetic Interfearance, this is why sometimes your TV looks screwed up when your refrigerator kicks in, chielding helps prevent this)
Also featured in this picture, although somewhat unintentional, are the tools that I used to perform the work: A leatherman, standard screw driver set, and mini screw dirver set.